
Checking Frozen Food Temperatures: Setpoint, Air and Pallet Evidence
Separate controller targets from air and pallet measurements, then copy a sensor and handover worksheet for a frozen-food baseline monitoring study.
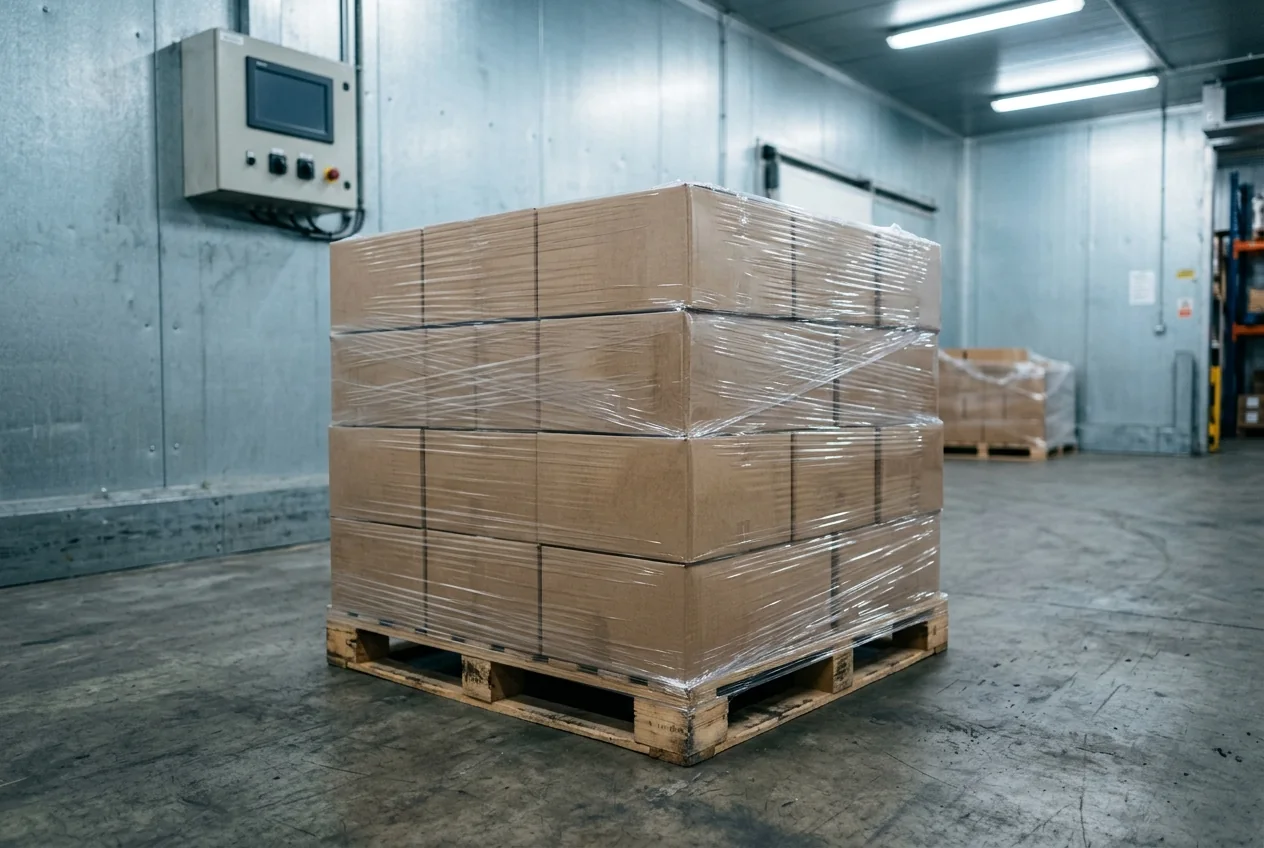
A freezer setting alone cannot document a frozen food item’s temperature journey. For a baseline monitoring study, identify what each record measures, connect its sensor to a known position, and preserve the time and location through every handover.
Checking a frozen food item’s temperature starts with naming the task: an individual food check and a study of a pallet’s journey require different evidence. This guide helps plant and receiving-warehouse teams prepare the latter. It provides a classification table and blank worksheets based on the GCCA–AFFI July 2025 protocol, version 1.1. It does not give instructions for piercing food, cooking, thawing or releasing a shipment.
Identify what the temperature record represents
A controller target, nearby air and a sensor inside a case answer different questions. Keep them in separate fields before comparing operators’ files.
Table: scroll horizontally if needed to see every column.
| Evidence category | What to record | What it can establish | What remains to check |
|---|---|---|---|
| Operator setpoint | Target, unit, node and period supplied by the operator | Intended equipment setting | Whether there is a separate measured series |
| Ambient at transfer | Outside conditions associated with the transfer, source and time | Context for a handover | Whether the value describes outside air or the loading area |
| Facility air | Sensor ID and exact position near the load | Air conditions at that sensor | Relationship to the pallet and any movement |
| Sensor within a pallet or case | Sensor ID, case position, packaging and contact arrangement | Conditions at the documented sensor position | Whether it measured air, a pack surface or food itself |
| Product measurement | Actual measuring method and product location | The measurement identified in that record | Suitability of the method under the site’s food-safety procedure |
The protocol’s measurement definitions are on printed pages 7–8. In particular, a setpoint is a target supplied by the operator. Calling an export “product temperature” does not remove the need to document its measuring arrangement. A sensor among sealed packs should be described by that position; a pallet location alone does not establish food-core temperature.
Use the food packaging and thermal-shipping comparison when the team also needs to identify which packaging layer the sensor sits beside. The primary food pack, outer case and shipping equipment are separate objects.
Define the study before placing the devices
Draw the route with named storage and transport nodes, then agree the start and end of observation. Version 1.1 covers the journey from final packing or palletization to the customer’s warehouse. Its scope excludes initial freezing and the later retail and consumer journeys; see printed pages 5–6.
For your study plan, attach a simple route list: node code, responsible operator, expected arrival and departure, and the record each operator will supply. Add the product and packaging description so a receiving team can identify the load. An unlabeled photograph of similar cartons will not connect a file to a particular pallet.
Before the load leaves, reconcile the planned sensor IDs with the devices actually installed. Keep a placement photograph with the record. Agree who will report a moved case or a rebuilt pallet: the study cannot silently treat a changed position as the original one.
Read the placement options as study configurations
The following is a summary of this protocol’s research configurations, from printed pages 8–9. These counts are not a universal requirement for commercial shipments.
Table: scroll horizontally if needed to see every column.
| Version 1.1 configuration | Sensor positions within each instrumented pallet | Instrumented pallet positions in transport equipment |
|---|---|---|
| Minimal | One in the center | Second-to-last row from the door end |
| Standard | Three: center, bottom corner and diagonally opposite top corner | Minimal position plus first row from the refrigeration-unit end |
| Optimal | Nine: center and each of the eight corners | Standard positions plus center row |
Use the original protocol figures when writing the placement instruction. Add your actual case, layer and vehicle positions to the worksheet below. The summary is not a substitute for checking how the agreed arrangement fits your load.
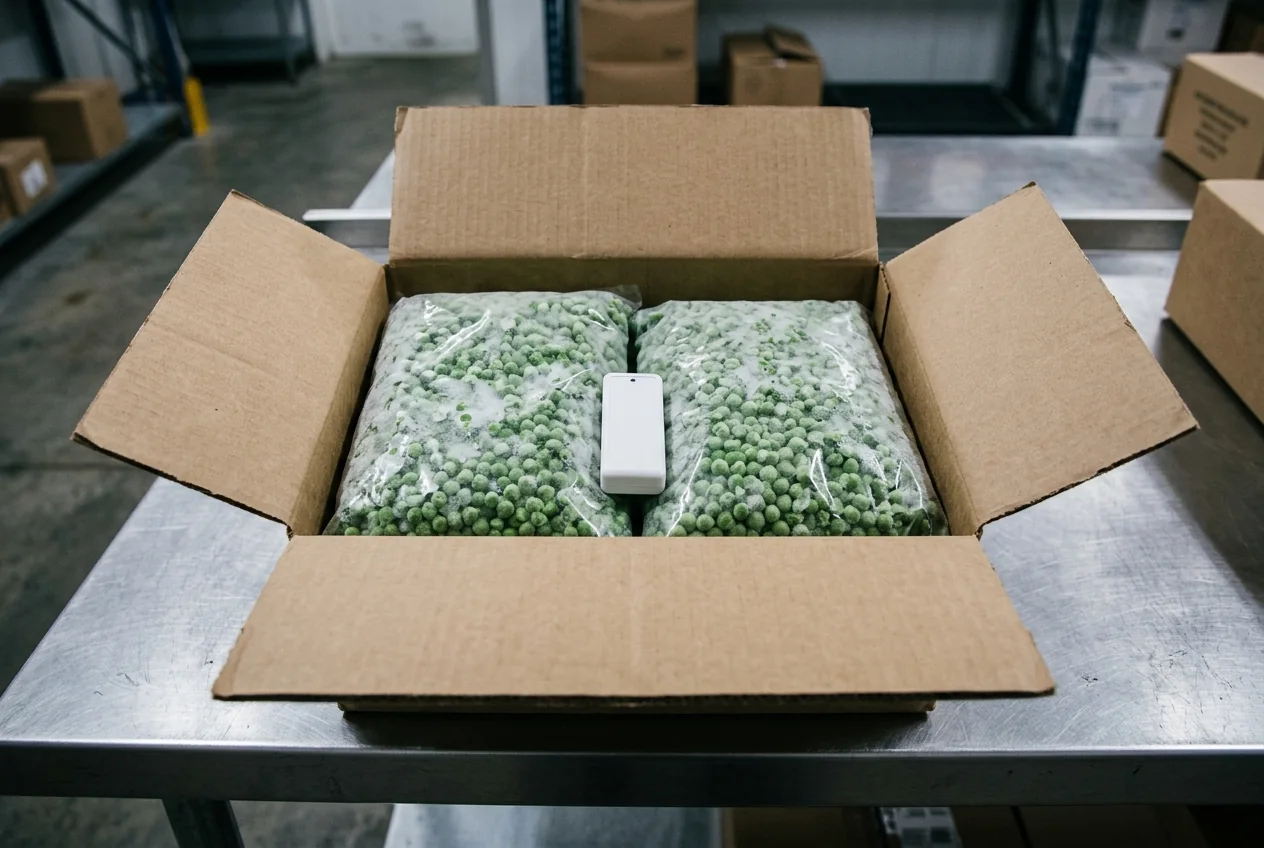
The photograph shows a case arrangement, not a measured temperature or a placement validation. Version 1.1 permits adding sensors inside cases under stated food-safety and quality conditions. It prohibits direct contact with exposed food except in specifically designed research where the food is identified as not for human consumption. Have the responsible food-safety team approve the arrangement before installation; this page provides no invasive measurement procedure.
Keep the clock, interval and node events together
Agree how the parties will align sensor timestamps and handover times before collecting files. Otherwise, a difference between files may be a clock difference that the receiving team cannot resolve.
Part 3 of version 1.1 calls for synchronized clocks using a universal reference such as UTC, matching logging intervals across sensors, and records at hourly or shorter intervals. Its study design also requires an interval capable of capturing the expected variations. An hourly baseline requirement is not evidence that a brief loading event was captured adequately. Record the chosen interval and why it fits the study’s events.
The protocol distinguishes storing readings from transmitting them: a device can be downloaded at the journey’s end. It also calls for checking offsets while sensors share a temperature environment and noting that comparison as an event. Preserve the comparison record rather than silently adjusting exported values.

At handover, retain the event source as well as the timestamp. Ask which record identifies loading, unloading, a door opening, defrost or a power interruption. Leave an event unconfirmed when its source is missing. The warehouse dispatch checklist helps assign the people responsible for that handoff; this page’s worksheet connects their records to the study.
Copy the sensor and handover worksheets
These blank tables are an editorial organization of the protocol’s preparation, placement and data fields. File references, owners and confirmation notes are added here to help teams exchange evidence. They are not an official GCCA–AFFI form. Copy them into your study record; there is no separate download. Leave unknown cells blank until the responsible party confirms them.
Study and sensor register
Use one row per device position. If a device moves, add the new position with its effective time rather than overwriting the earlier record.
Table: scroll horizontally if needed to see every column.
| Field | Entry |
|---|---|
| Study ID and protocol version used | |
| Route, defined start and end | |
| Product, lot and pallet identifier | |
| Product pack, case and pallet arrangement | |
| Sensor ID | |
| Measured object and contact arrangement | |
| Exact case, layer and pallet position | |
| Pallet position within vehicle or warehouse | |
| Placement photograph reference | |
| Activation timestamp and time zone | |
| Logging interval and temperature unit | |
| Clock alignment and offset comparison record | |
| Device suitability record for expected conditions | |
| Original export reference and record owner |
Node and event register
Repeat this table for each storage or transport segment and associated event. Record the applicable period when an operator supplies a setpoint; keep a measured air series under its own file reference.
Table: scroll horizontally if needed to see every column.
| Field | Entry |
|---|---|
| Study, pallet and sensor IDs | |
| Node code, operator and location | |
| Arrival and departure timestamps, with zone | |
| Operator-reported setpoint, unit and applicable period | |
| Facility-air sensor position and file reference | |
| Transfer ambient conditions, time and source | |
| Event type, start and end time | |
| Event source or confirming person | |
| Case movement, pallet rebuild or position change | |
| Missing interval or unresolved clock issue | |
| Original records supplied and receiving owner |
Before comparing routes, check that IDs, units, time references and positions can be reconciled. Part 3 excludes incomplete or compromised datasets from exercises intended to map the full journey. If a file lacks a required segment or a temperature-affecting event, flag the limitation to the study owner rather than presenting it as a complete baseline.
Ask each operator for the evidence it owns
Give the plant team the sensor register to confirm product, pack and initial placement. Ask warehouse and transport operators for their setpoints, measured files and event records for the relevant periods. Give the receiving study owner both tables and the original exports so they can decide which records are comparable.
The outcome is a documented measurement trail. It does not authorize a warmer operating setting or determine food safety, remaining shelf life or cargo acceptance. Those decisions remain with the relevant product and quality procedures.
Method and scope
Compiled from the full GCCA–AFFI protocol v1.1 and its joint industry announcement, fetched and read on 15 October 2026. The classification and worksheets are editorial synthesis of public guidance; Cold Chain Practice has not conducted a pallet trial or tested the pictured arrangement. The protocol’s own notice states that following it does not establish regulatory compliance. Return to Applications for related operational guides.
Related guides
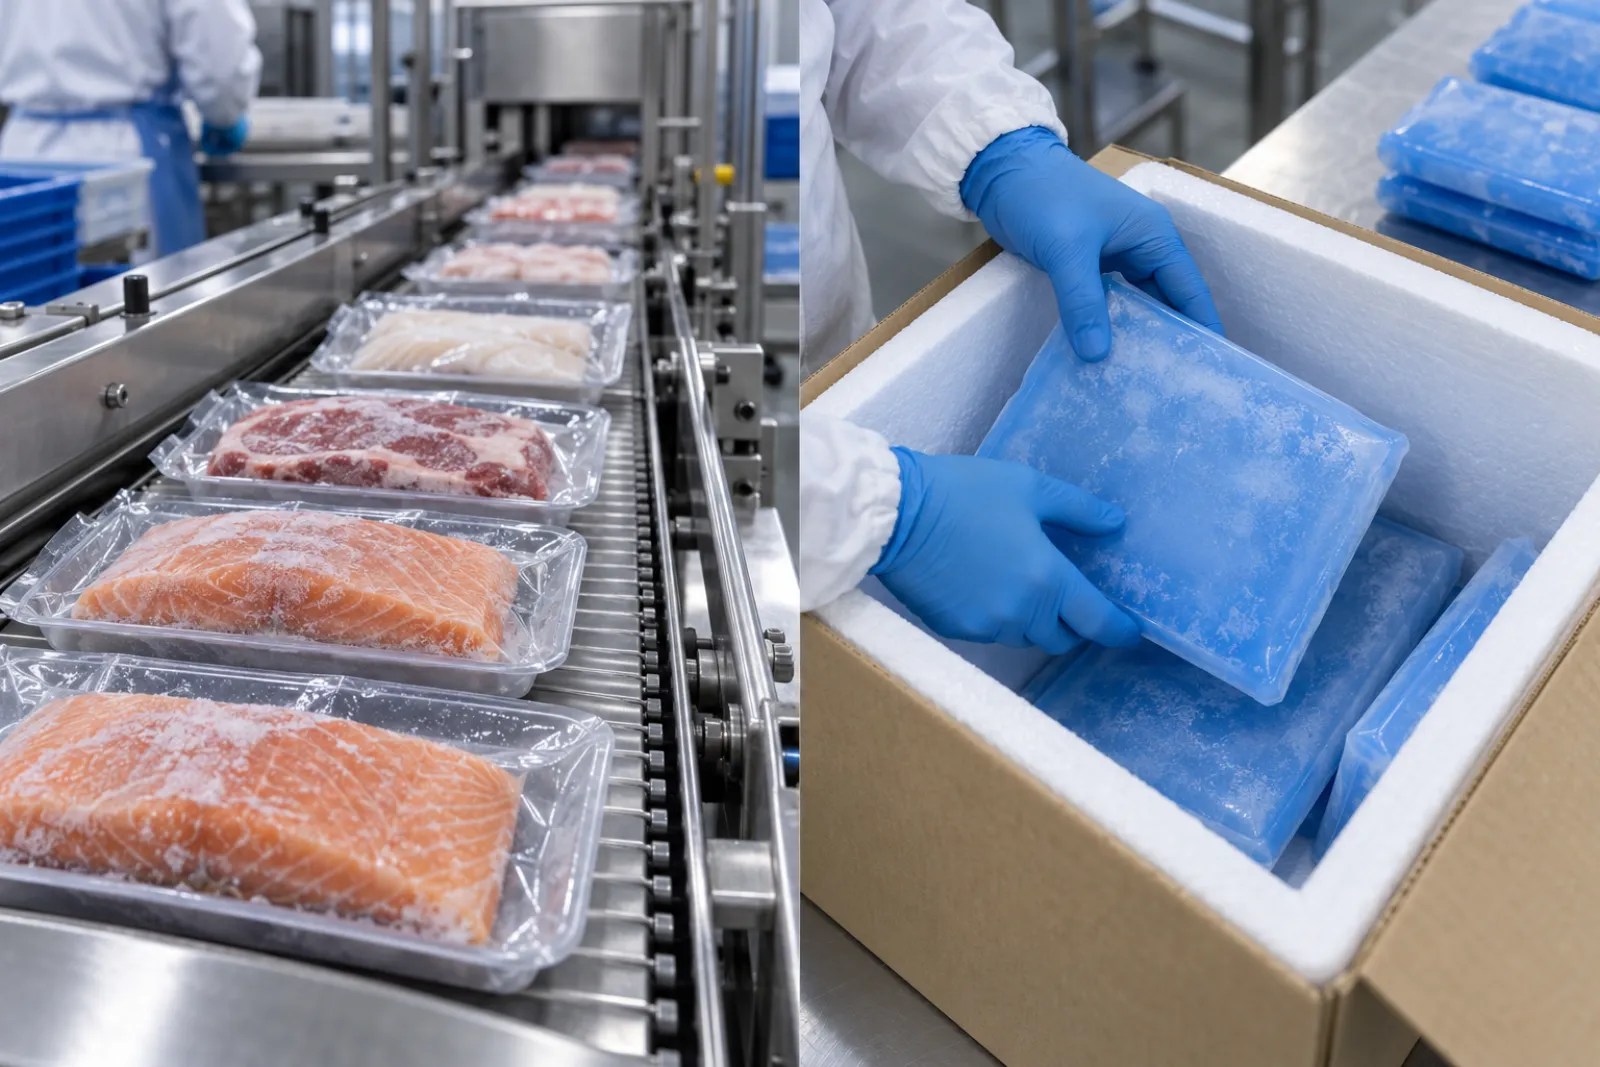
Chilled and Frozen Food Packaging: Product Packing vs Thermal Shipping
Separate primary food packaging from thermal shipping packaging, and see where the equipment boundary sits between product packing and cold chain packout.
Read guide
Temperature-Sensitive Dispatch: A Warehouse Handover Checklist
A cold chain dispatch checklist covering pick checks, logger start, documents, carrier handover, data responsibility and exception escalation fields.
Read guide
Pharmaceutical Shipping Packout: What Buyers Must Define Before Equipment Selection
Build packout requirements from product documentation, lane assessment and quality input before you shortlist equipment. Owners, interfaces and records.
Read guide
Planning a Clinical-Trial Kit Shipping Workflow
Map kit components, labeling, handovers and temperature evidence for clinical trial kit shipping, with clear owners and an escalation path for excursions.
Read guide